What JPEG quality should you use? A visual guide with real numbers
There is a hidden dial on almost every photo you save, and most people leave it in the worst possible position. It is called JPEG quality, it runs from 0 to 100, and the instinct is to crank it to the top. That instinct roughly quadruples your file size for a change your eye cannot detect. To show why, I took one real photo, re-encoded it at every quality setting with a standard JPEG encoder, and measured the actual bytes. The numbers tell a clear story.
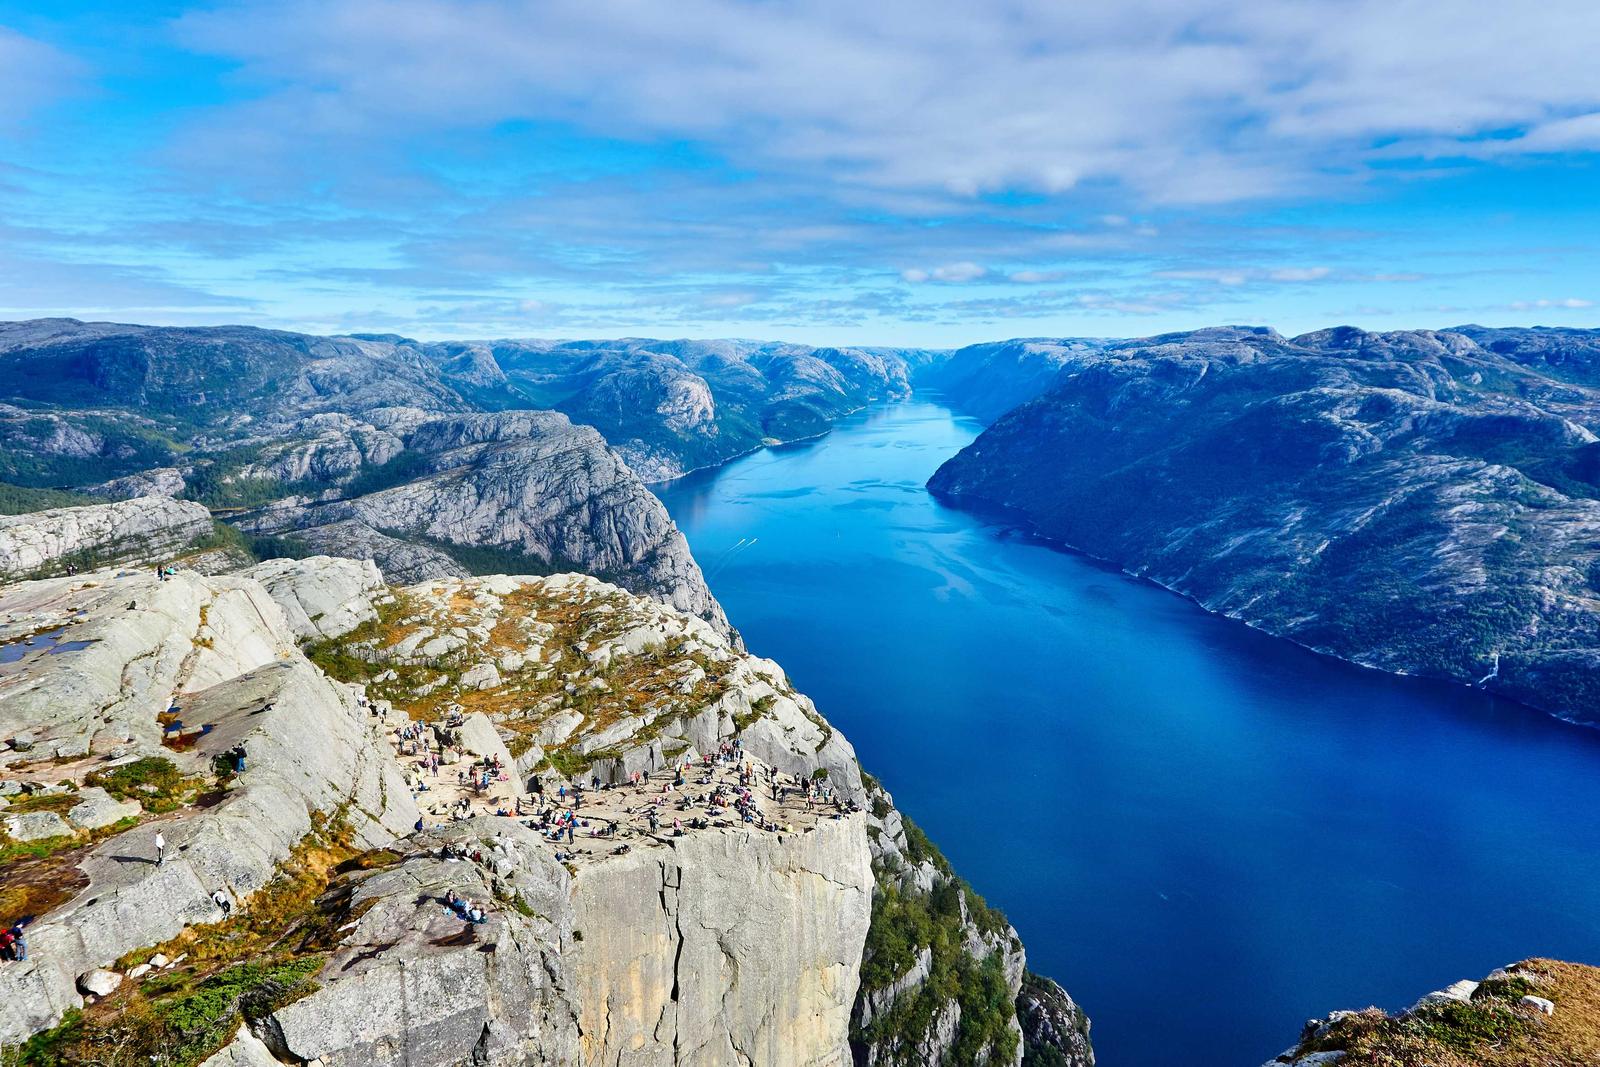
What the quality number actually means
JPEG is a lossy format, which means it makes files small by throwing detail away. The quality slider is simply how much it keeps. At 100 it discards almost nothing. At 10 it discards most of the fine detail and you get the blocky, smeared look everyone recognizes. Every setting in between is a trade: a little less detail for a lot less size.
The catch, and the whole point of this article, is that the trade is wildly uneven. The first steps down from 100 cost you almost no visible quality while saving enormous amounts of space. Keep going and the savings shrink while the damage grows. Somewhere in the middle is a sweet spot, and it is not where most people leave the dial.
The size curve, measured
Here is the same photo saved at every quality from 10 to 100, with the real file size at each step. Watch what happens on the right side of the chart.
The shape is the lesson. From quality 10 up to about 90, the line climbs gently: each step costs a little more. Then it turns sharply. Quality 95 is a real jump, and quality 100 shoots past a full megabyte, nearly four times the size of quality 80. That final stretch is you paying dearly for detail no screen will show you.
These are real bytes from one 1.7-megapixel photo, measured with a standard browser JPEG encoder. A larger photo scales the whole chart up, not its shape: a 12-megapixel phone shot behaves exactly the same way, just with kilobytes turning into megabytes. The lesson is in the shape, and the shape does not change.
The 80-to-100 trap
Line up a few specific settings and the waste becomes impossible to miss.
Quality 100 is a special kind of wasteful. To reach it, the encoder switches off the clever tricks that make JPEG efficient in the first place, so the file balloons while the image barely improves. Unless a printer or a client is specifically demanding it, quality 100 is almost always the wrong choice. You are not getting a better photo. You are getting a bigger one.
What the artifacts actually look like
So if high quality is wasted, why not go very low? Because at some point the damage becomes visible, and JPEG damage has a particular look. Here is one detailed crop of the photo, the clifftop and the water, saved at three qualities. Look at the tiny people and the surface of the fjord.
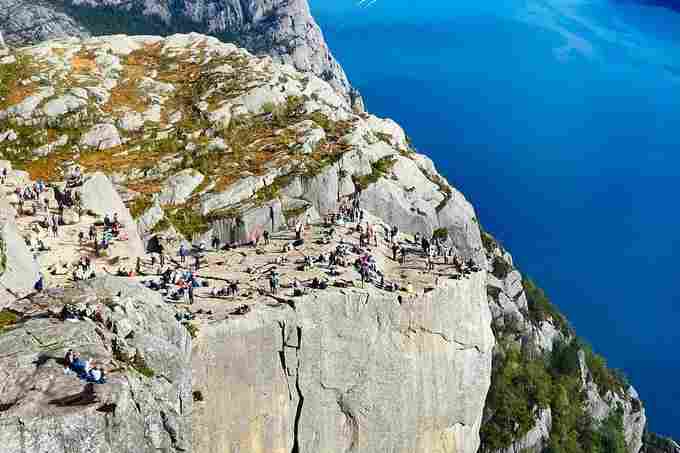
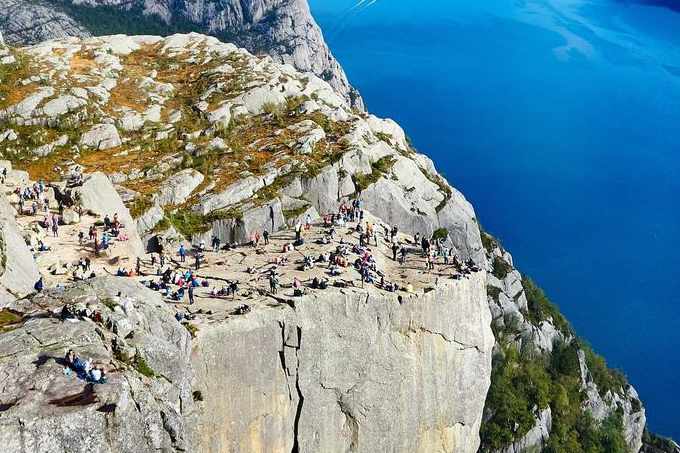
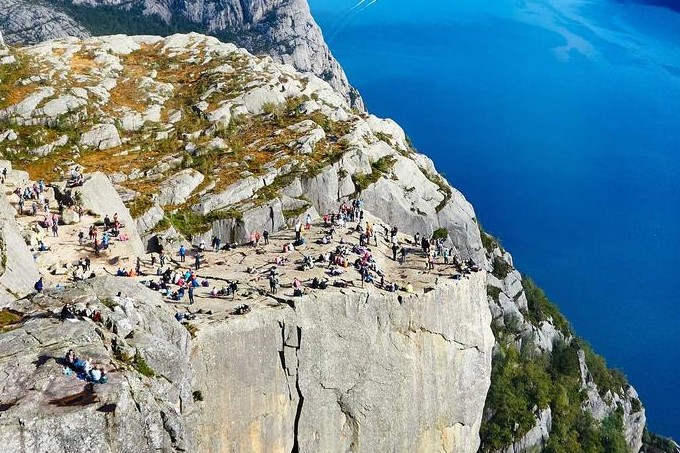
Two things give low-quality JPEG away. The first is blocking and ringing: the image is compressed in small squares, and at low quality you start to see them, especially as a muddy halo around sharp edges, fine detail, and text. The crowd of tiny figures on the cliff is where it shows first. The second is banding: a smooth gradient like the water or an open sky breaks into visible patches, because the encoder ran out of room to describe the gentle change. Photos with lots of open sky, skin, or shadow show it soonest.
So what quality should you use?
The whole curve collapses into a short answer.
- 80 to 85 for anything you share. This is the sweet spot: visually indistinguishable from the original for a normal photo, at a fraction of the size. It is what most websites serve you without you ever noticing.
- 90 if you are archiving or the photo will be edited and re-saved later. On this photo 90 costs only a little more than 80, so the extra headroom is cheap when you want it.
- Below 60 only when size truly rules, like a tiny thumbnail, and you accept that a careful eye might spot it.
- 100 almost never. Save it for the rare tool that demands a maximum-quality source. For everything else it is pure waste.
If you remember one number, remember 80. It is the setting that makes a photo small without making it look small.
The mistake that dwarfs quality: the wrong format
Here is the twist. Choosing the right quality can save you half your file size. Choosing the right format can save you far more, and it is the mistake people make constantly. Here is that same photo as a quality-80 JPG, as a WebP at the same quality, and as a lossless PNG.
The PNG is more than ten times larger than the JPG, and it does not look any better, because PNG was built for graphics with flat colors and sharp edges, not for photographs. A photo trapped in a PNG is the single most common way people waste storage. WebP, meanwhile, matches JPG quality in less space, a small edge on a busy photo like this one and a much bigger one on simpler images, which is why so much of the web has switched to it. If you want the full story on formats, PNG vs JPG and WebP vs JPG go deep, and you can switch any image with the image converter.
You do not have to guess
Knowing the theory is useful. Not having to think about it is better. A good tool shows you the file size live as you move the quality slider, so you can find your own sweet spot by eye instead of by folklore.
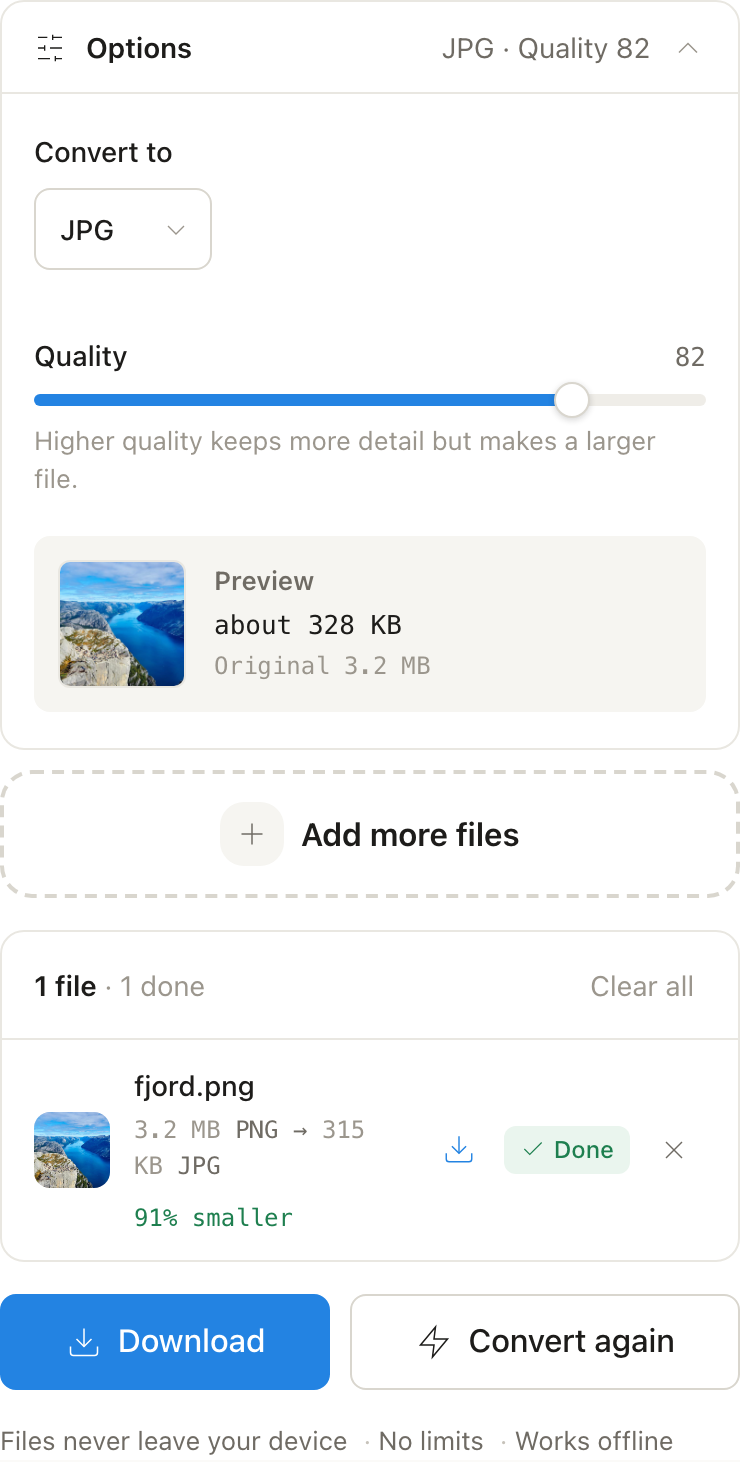
Better still, you can skip the dial entirely. The compressor below has an automatic mode that does exactly what this article describes: it searches for the smallest file that still looks identical to the original, tuned for each individual photo, so a smooth beach shot and a detailed cityscape each get the setting they deserve. You get the sweet spot without ever touching a slider.
And because this is Filexum, none of it involves an upload. Your photo is compressed by code running in your own browser, on your own device. Turn off your Wi-Fi and it still works, which is the simplest proof that nothing was ever sent. The full explanation covers exactly why.
The bottom line
JPEG quality is a dial with a sharp knee. Below the sweet spot you save little and start to see damage. Above it you spend a lot for detail no one can see. For almost every photo you will ever share, quality 80 to 85 is the honest answer, and picking the right format matters even more than the exact number. Or let the tool find it for you. Try it on your own photo below, and watch the size fall while the picture stays exactly the same.